Since launching Event Espresso 4 a few year’s ago, then Event Smart a short time later, I’ve been dabbling with a few child themes to complement both platforms. However, I haven’t been promoting the child themes for various reasons. One of the reasons is because we don’t have a system to deploy automated updates as we do for the plugin. So I decided to build and launch a bare-bones theme shop—Espresso Themes— as a way to advertise and give away the child themes, while supporting future updates. The theme shop also allows us to promote some of the paid items that work well with Event Espresso and provides additional resources for our customers, without tying up resources on our main site.

The following is a bare-bones write-up of how I launched a small theme shop to promote and give away our custom child themes. Since I wanted to keep the post short and sweet, I’ll give a high-level overview of the steps involved. Doing things this way allows you (the reader) to use your imagination and empowers you to learn by doing.
Getting Started
I am assuming you already have a domain name, hosting, and WordPress installed, so the next steps should be relatively simple for you. All plugin and theme installs can be performed via the WordPress dashboard and are available on WordPress.org, so a quick search should be all you need. I will link to each plugin and theme in case you want to download, then install the software.
Automating Updates
Since the child themes were created for particular use cases and supported a single plugin, I didn’t have a great free resource to advertise the child themes. Nor did I have a way to deploy updates efficiently, so I decided to go with an easy to use private plugin and theme update service. Below are the two services I investigated but started with only one of them (Kernl.us) while I experiment.
Private theme update services:
- Freemius – this was my first choice, but I needed to monetize the themes to be able to use their auto-update services. Since I am currently experimenting and giving these themes away for free, I didn’t want to pay for a service just yet. I may return to Freemius if I decide to monetize some themes later.
- Kernl.us – this service was recommended to me by Vova Feldman of Freemius and I am currently using it to host updates for the free child themes I created for Event Espresso 4. Kernl is a service that provides private plugin and theme updates for WordPress, and it allows me to host and deploy updates to the themes automatically.
Shopping Cart Plugins
Next, I needed a system to advertise and track downloads of the child themes. Once again, I had to find a service or plugin, so I investigated the following free plugins.
- Easy Digital Downloads – this was my first choice for hosting the downloads. However, I thought about using WooCommerce briefly but knew from experience (as discussed below) it would be overkill for this situation.
- WooCommerce – we used WooCommerce a few year’s ago when we first launched Event Smart as a minimum viable SaaS platform for event ticketing websites. Eventually, we outgrew WooCommerce, built a custom system, which uses Recurly and allows us to implement recurring billing for our monthly and yearly plans.
Installed a Basic Theme & Page Builder
- Twenty Sixteen Theme – since I just wanted something bare bones, for now, I went with the Twenty Sixteen theme by the WordPress team because it is free, relatively simple and a beautiful looking theme.
- Beaver Builder Lite – since I wanted to create a simple homepage that features all of the available themes in sections with two columns, I went with the Beaver Builder Lite plugin because I like the team behind it and the plugin is relatively easy to use.
Install the Plugins & Theme
- Install the Easy Digital Downloads plugin
- Install the Beaver Builder plugin
- Install the Twenty Sixteen theme
Add Your Theme Files to Kernl
- Create a Kernl account.
- Go to the themes page.
- Click the “Add Theme” button, then fill out all the details.
- Add a version of your theme (or plugin).
- Copy the link address to the download file for use in the next steps below.
Add Products to the Shop
Since I chose to use Easy Digital Downloads for selling (giving away) the themes, I will post the steps I followed to deploy the child themes to the site.
- Go to the Easy Digital Downloads page in your WordPress Dashboard.
- Click the “Add New” button.
- Give the product (theme or plugin) a name, description, and screenshot.
- In the “Download” meta box, give the download a name and use the link address to the download file from Kernl as the download file.
- Click Publish.
Verify Private Updates Work
It’s important to verify that private theme updates are working correctly. You can do this by logging back into the Kernl platform and adding an update to one of your themes.
- Install one of your new themes on a staging website.
- Update the version of the theme (in the style.css file), then zip it up.
- Log into the Kernl dashboard and go to the “Themes” tab.
- Select a theme to update and click the “Versions” button.
- Upload the newly zipped version of the theme you just created.
- Wait 12 to 24 hours.
- Log back into the staging website where you installed the new theme.
- You should see an update available for the theme.
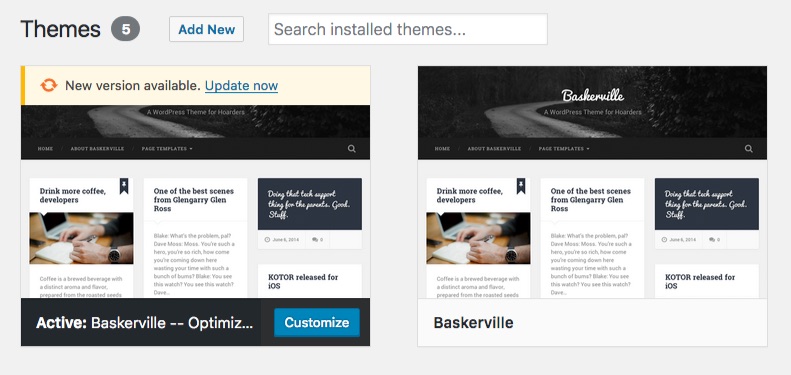
Here’s a screenshot of the available update for my first child theme:
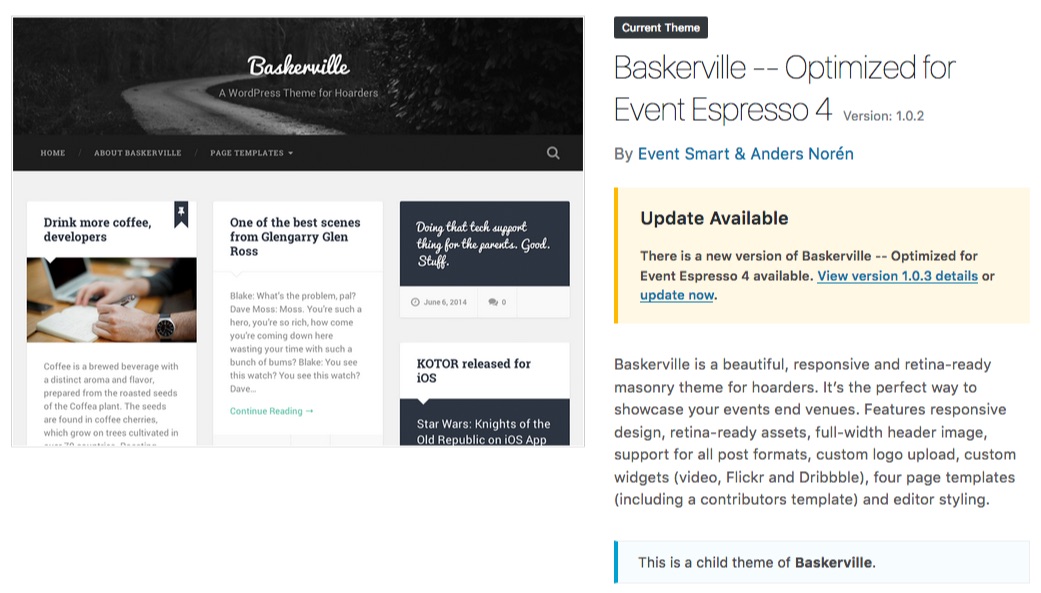
I also verified that I had the correct version of the update:
Build a Home Page
For the home page, I merely used Beaver Builder to design the layout of the page. To keep this post simple, we’ll just skip the final results below.
Voila, a Bare-bones Theme Shop is Born
I present to you, the results of my bare-bones theme shop.
The Home Page
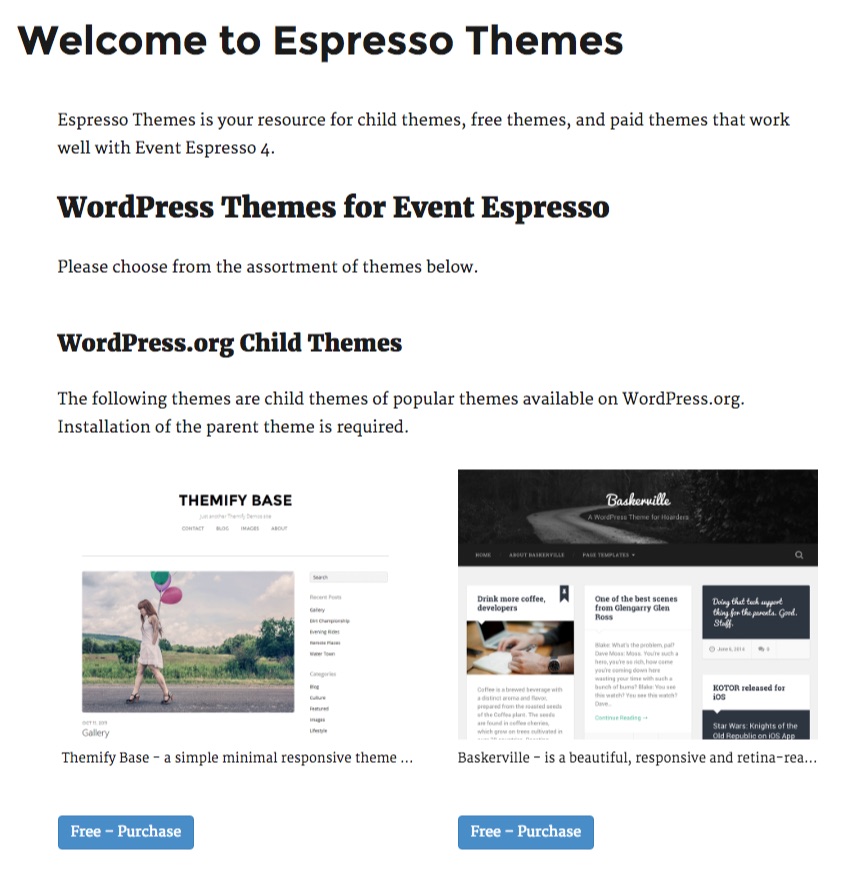
I kept the home page simple, with two columns, a screenshot, short description (added via the image caption) of the child theme, and a “Buy Now” button. I have the “Buy Now” buttons set to automatically redirect to the checkout page, which makes it quick and easy for customers to get the theme.
The Checkout Page
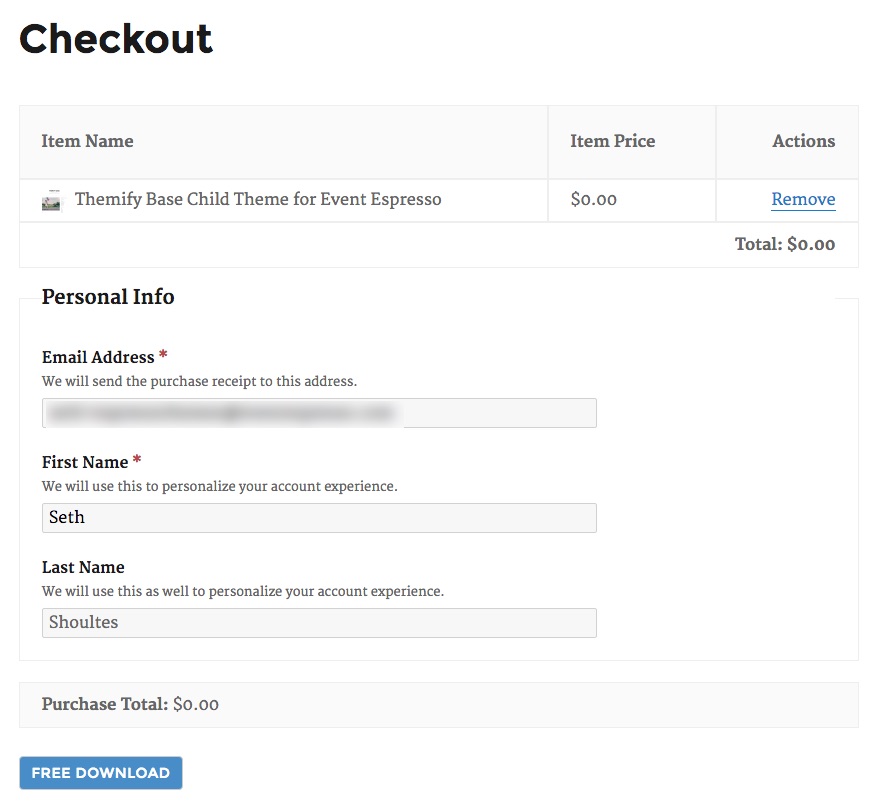
Here’s a screenshot of the Easy Digital Downloads checkout page, which I think is clean and easy to use.
Purchase Confirmation Page
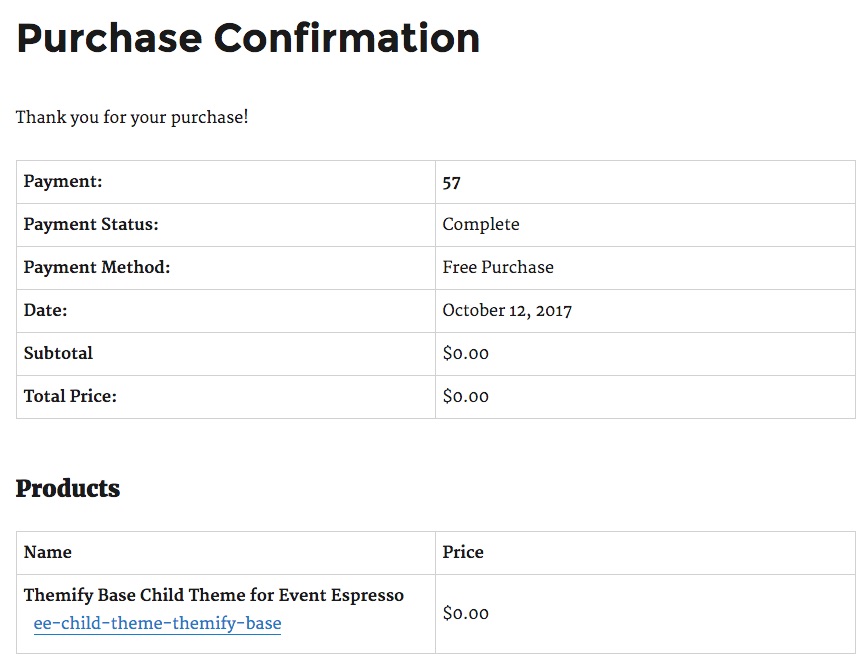
Once your customer enters their details, they are taken directly to the purchase confirmation page, where they can download and install the theme on their website. Here’s a screenshot of the Easy Digital Downloads Purchase Confirmation page.
Optional Steps
Here are a few ideas to customize and expand the shop to suit your needs.
- Experiment with different themes and landing pages.
- Add a MailChimp Newsletter Signup Form.
- Add a lightbox to your sample theme images with the Gallery Lightbox Plugin.
Wrapping it Up
I hope you enjoyed this quick and dirty approach to giving away (or selling) WordPress themes and child themes in your own “WordPress Theme Shop.”
There are a few details you may have to figure out for your specific use case, such as choosing a theme, an update service, and setting up a payment gateway. However, this should give you a general idea of how easy it is to start selling digital products using the WordPress platform.
Overall, I am happy with the results of the theme shop so far because I was able to create a working mockup of my idea in as little as a few hours. I am genuinely amazed that the power we can wield using a set of free plugins, services, and themes for WordPress. All that’s left to do is make it pretty, add more themes, and start marketing.
I look forward to answering any questions and providing further details in the comments below.
Enjoy.


Nice article. I have a guide that goes over how to integrate Easy Digital Downloads into a theme here: https://bootstrapwp.com/create-a-wordpress-theme-shop/
Thanks! I’ll be sure to check it out.